Cork Tape on the Job
Wet Fittings, Foam Transitions, TXV Bulbs & Callbacks
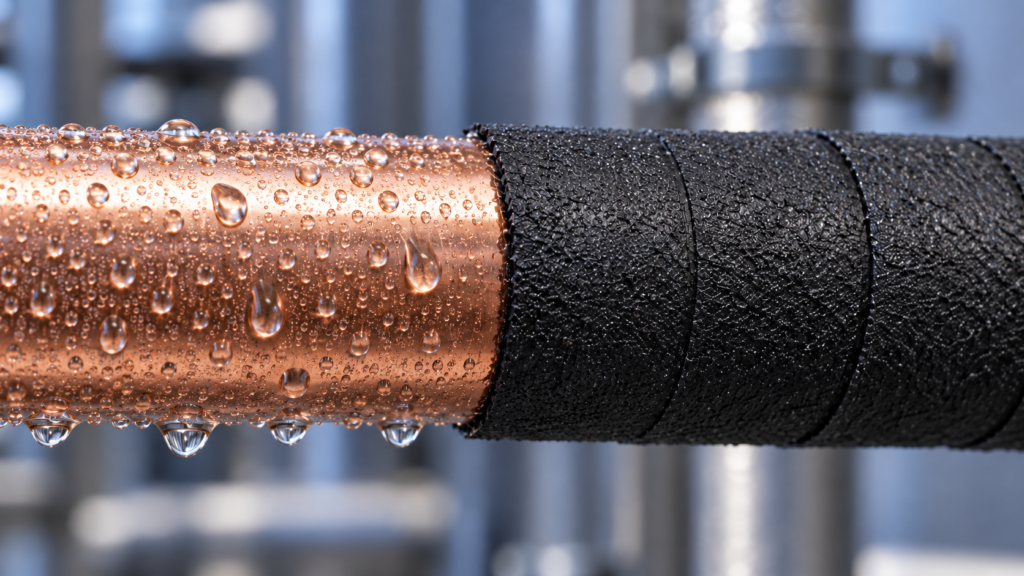
You're Usually There Because It's Already Sweating
Nobody calls about a dry fitting. By the time you get there, the pipe's wet, and the tape wants a clean, dry surface.
Wipe it down, get it as dry as you can, and move fast. Start the wrap on the driest part of the pipe and work toward the wet spot. The tape seals to itself at the overlap, so once the wraps are closed up, air can't get back to that section of copper and it stops sweating.
1. AC / Mini Splits
Shutting the unit off for a few minutes helps. Lines warm up quickly once the compressor stops, so the pipe quits making new water while you dry it.
2. Low-Temp Boxes
You don't want to take a refrigeration box down for this. Dry it as best you can and work quickly. Condensation shows up as frost and ice.
3. The Reality
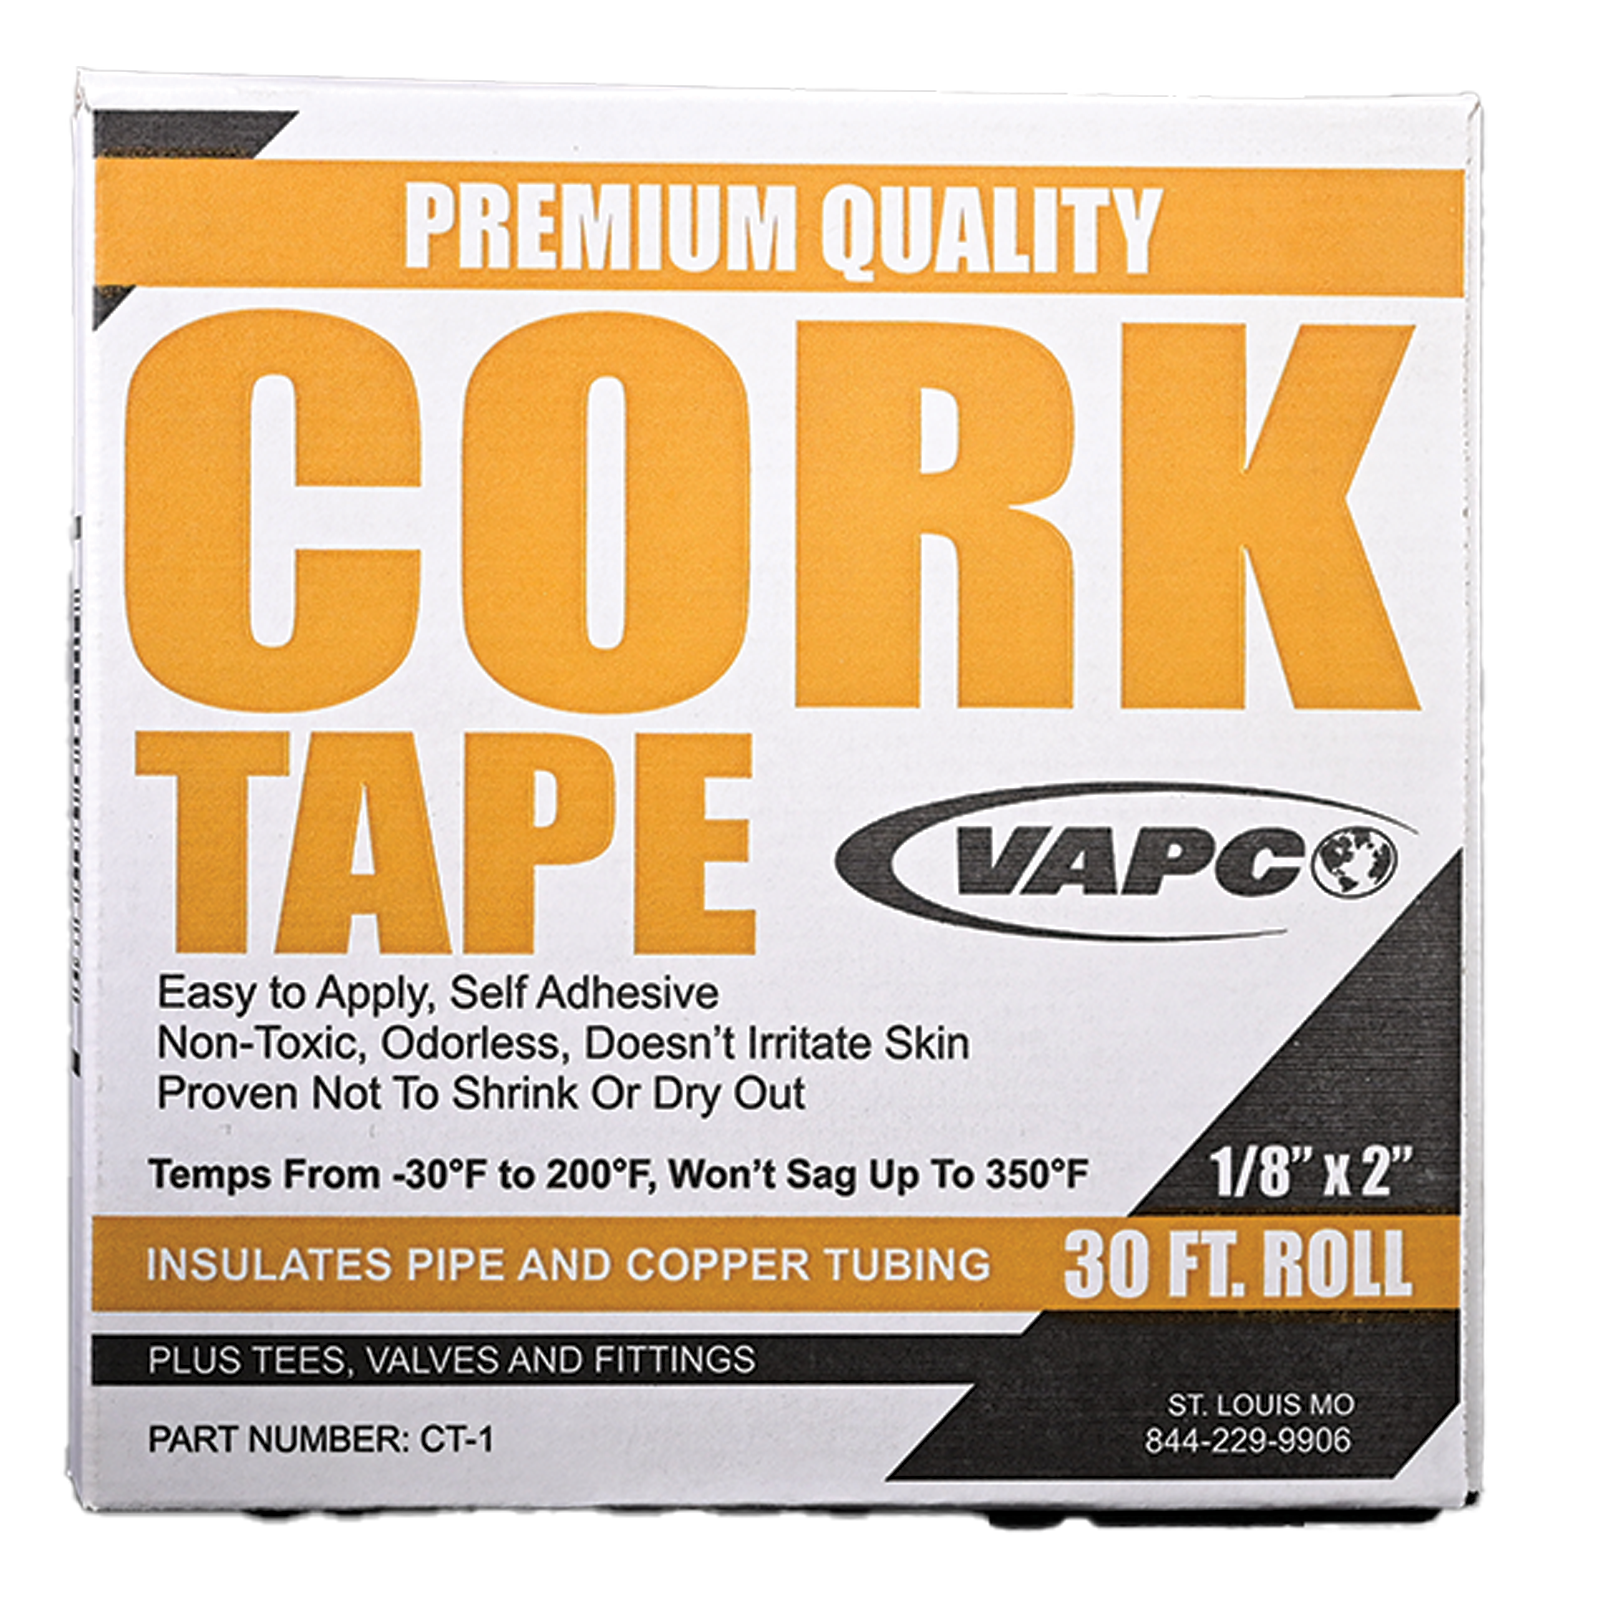
CT-1 stays flexible in service down to -40°F, so it keeps sealing where the line is coldest. Tape the fittings, foam over the tape, no gaps.
Tape First, Foam Second
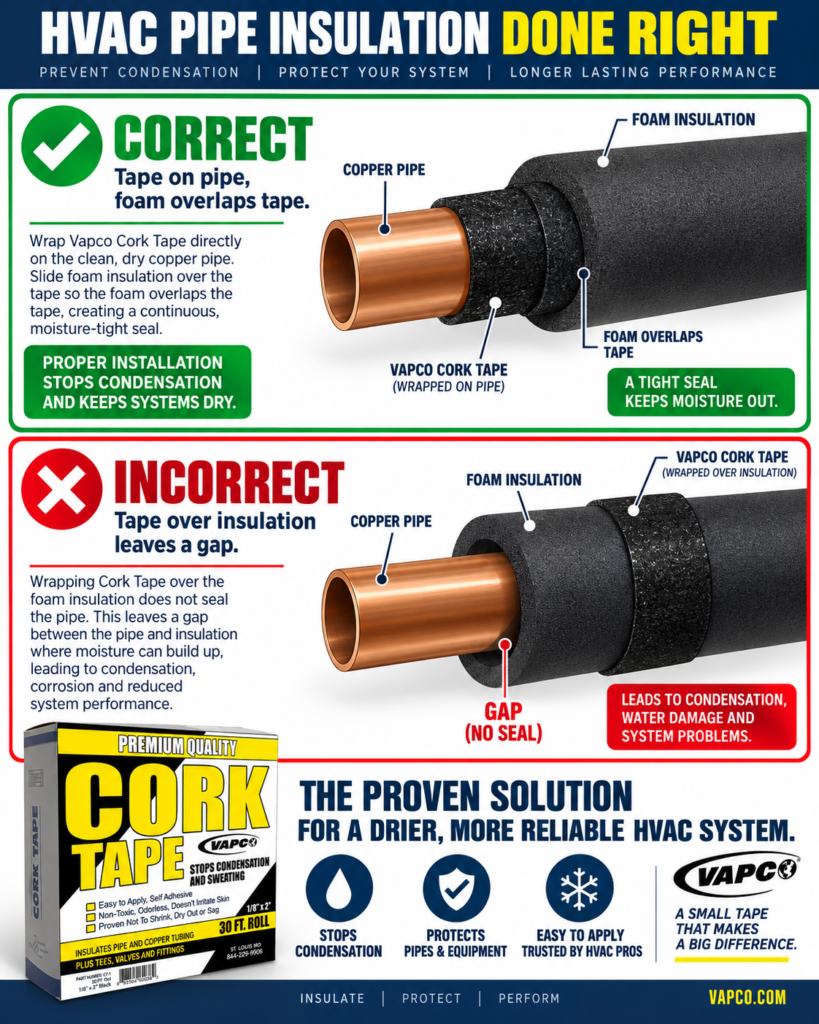
Where the foam stops at a fitting, a lot of guys wrap the tape over the end of the foam. It looks finished, but it's the wrong order.
Put the tape on the copper first, right where the foam is going to end, then slide the foam over the tape. The tape seals the pipe. The foam end sitting on top of the tape plugs the space between the foam and the copper, so humid air can't run down the inside of the foam.
- Expect Snug Fit: Tape adds thickness, so the foam end will be snug. On a tight sleeve, slit it or go up a size.
- Retrofit Reality: Doing it right means pulling the foam back. Wrapping over the end is just covering up the leak.
Wrapping Tees, Elbows and Valve Bodies
These are the spots foam can't handle, and the spots where most drips start.
Start on Straight Pipe
Begin an inch or two back from the fitting on clean copper so the wrap has something solid to anchor to.
Overlap Every Wrap
About a quarter inch. If you can see a line of copper between wraps, you've got a leak. Snug is good. Stretched so thin you can see copper through it is not.
Handling Irregularities
Tees: wrap the main run first, then the branch and carry it back over the run. Valve bodies: mold it by hand and press it into corners. Leave the stem and caps accessible.
Finish & Press Down
Carry the wrap onto straight pipe on the far side, then bring foam over it. Go back over the whole thing with your hand. No air pockets, no loose edges.
TXV Bulbs & Callbacks
TXV Bulbs
The bulb goes on a clean, straight section of suction line, held with a metal strap. Not tape.
Once strapped, cork tape wrapped around it fills the voids so ambient air can't get in. Many put foam over that. (Fair warning: not everybody likes tape on a bulb because it's more work to dig out if the valve gets replaced).
Mistakes To Avoid
- Stretching the tape so thin it doesn't cover copper.
- Skipping the overlap, or leaving it on the bottom.
- Wrapping over oil, dirt or standing water.
- Leaving a gap of bare copper where foam ends.
- Wrapping over foam instead of taping first.
- Using tape to mount/hold a TXV bulb.
Worth the extra five minutes
Cork tape is a cheap fix. A sweating fitting that ruins a ceiling or streaks down a wall costs a lot more than the roll: the repair, a return trip, and a customer who might not call you back. Ask for Vapco CT-1 at your supply house.