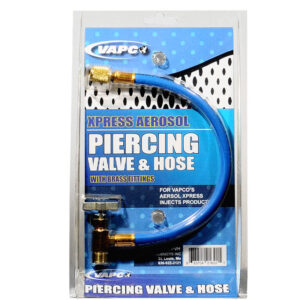

REFRIGERANT CAN TAP AND HOSE 1/2″ RCTH-1
Streamline your service calls with the ultimate grab-and-go charging kit. The core of the RCTH-1 is our robust can tap, constructed from corrosion-resistant brass and stainless steel for field-proven durability. It pairs perfectly with the included 12-inch yellow charging hose, which offers excellent flexibility for maneuvering in the tight spaces common in residential and light commercial refrigeration. This complete system provides a reliable, gas-tight seal from the refrigerant can to the system’s service port, allowing for the precise, by-weight charging that hydrocarbon systems demand.
Key Features & Benefits
- Complete All-in-One Kit: Includes both the professional can tap and a high-quality 12-inch charging hose, providing everything needed to connect the can to the system.
- Heavy-Duty Can Tap: Features a 1/2″ fitting, corrosion-resistant brass/stainless steel body, and a sharp piercing needle for long-term reliability.
- Premium 12-Inch Hose: The ideal length for servicing compact appliances, reducing bulk and improving handling in confined spaces.
- Leak-Proof Connections: Precision-machined threads and robust gaskets on both the tap and hose ensure a secure, gas-tight seal, preventing refrigerant loss and ensuring safety.
- Standard 1/4″ Flare Fittings: The hose and tap feature standard fittings for seamless compatibility with manifold gauges and system service ports.
- Ergonomic T-Handle: The large, easy-to-turn handle on the can tap provides excellent grip and precise control over refrigerant flow.
- Designed for R-290 & R-600a: The perfect tool for safely and efficiently servicing modern systems using hydrocarbon refrigerants.
Part Number
- RCTH-1 1ea
- FOR USE WITH:
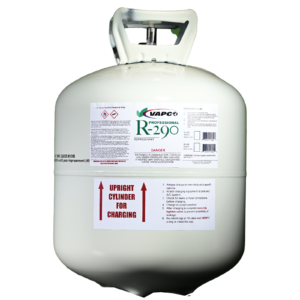
- 1/2” Fitting R290- 8OZ (GREEN LABEL)
- 1/2″ Fitting R600a-6OZ (GREEN LABEL)
Professional Application Protocol (For Certified Technicians Only)
Guidelines for Use
IMPORTANT: You must check and repair all leaks before charging. Read and understand all product warnings and directions before use. As with any flammable substance, the use of spark-proof tools and adequate ventilation is required. Take all necessary safety precautions.
- Assemble Tools: With the valve handle turned fully counter-clockwise (retracted), firmly screw the can tap onto the refrigerant can.
- Connect to System: Connect the charging hose to the low-pressure side ONLY.
- Charge and Monitor: To charge with liquid refrigerant, invert the can. Pierce the can’s seal by turning the valve handle clockwise. Retract the handle and invert the can to allow flow and monitor the pressure on the gauge as you charge the system.
- DO NOT OVERCHARGE THE SYSTEM. A precise charge is critical.
- Disposal: After use, dispose of the empty can and any remaining material in accordance with all local, state, and federal regulations.