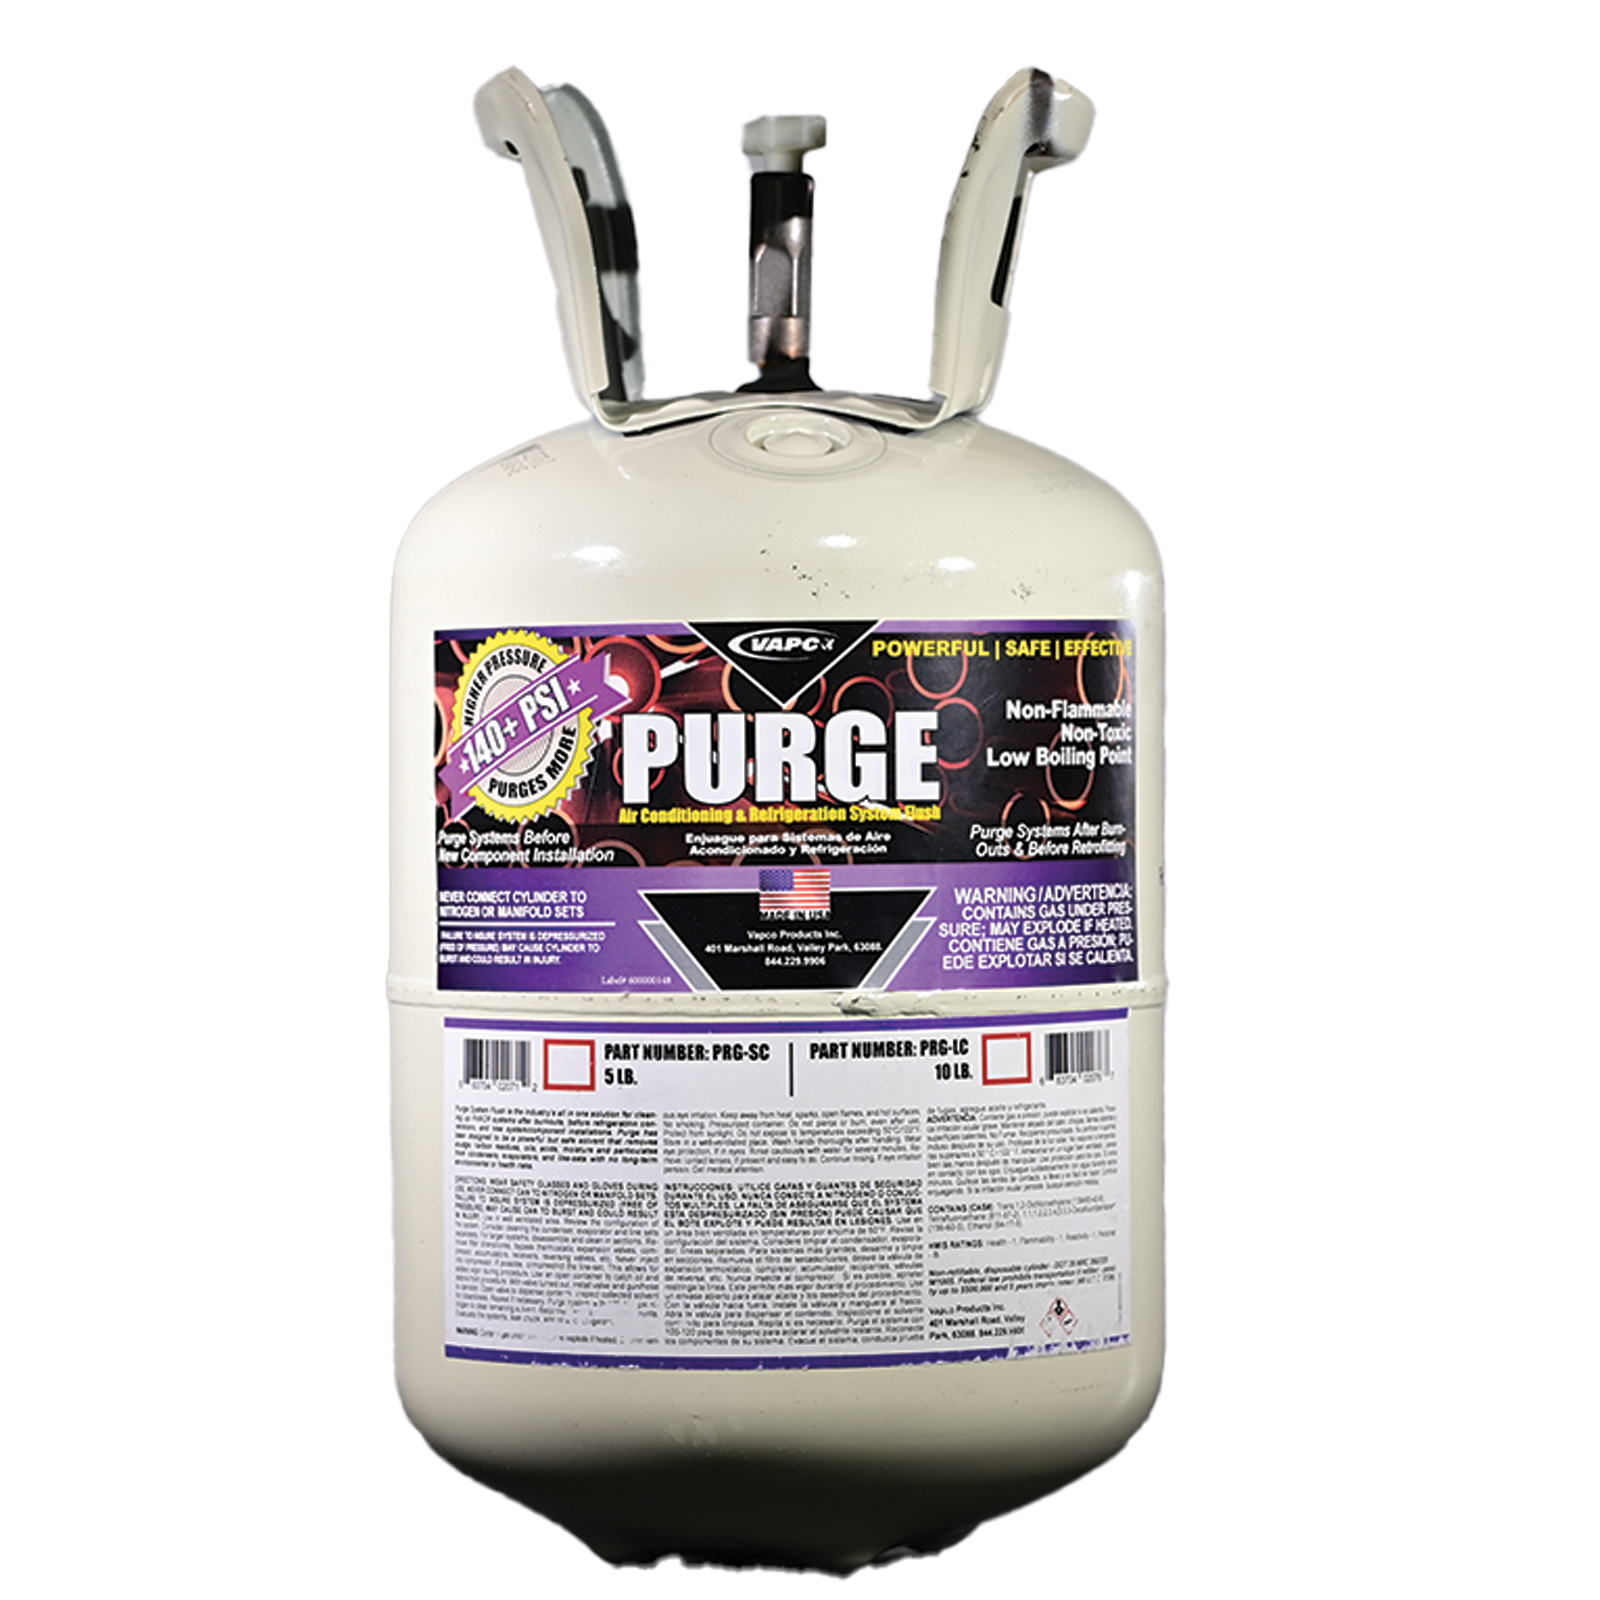
Purge Line Set Flush Cylinders: PRG- SC, LC
Massive Volume for Commercial Systems, Large Scale, Efficiency, and Value
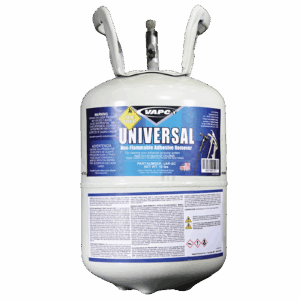
Take on the toughest commercial cleaning jobs with confidence using Purge Line Set Flush Cylinders. These heavy-duty cylinders deliver consistent high-pressure cleaning power (140+ PSI) for extended applications, from multi-zone VRF systems to large rooftop units. The professional-grade formula dissolves years of accumulated contaminants, prevents repeat compressor failures, and ensures optimal heat transfer efficiency.
With sufficient volume to clean multiple systems or extensive piping networks, these cylinders maximize productivity while minimizing downtime for your commercial clients. It offers a lower cost per pound than aerosols, making it the smart choice for the service truck. Streamline your workflow and your budget:
Built-In Valve System: Unlike aerosol cans that require a separate injection actuator tool, Purge cylinders feature a standard 1/4″ service valve built directly into the tank. That means one less tool to buy, lose, or break. Just connect your purge hose and gun, then go.
Bulk Economy: Buying in bulk drastically reduces your cost-per-pound compared to single-use aerosols, maximizing your profit margins on large commercial bids.
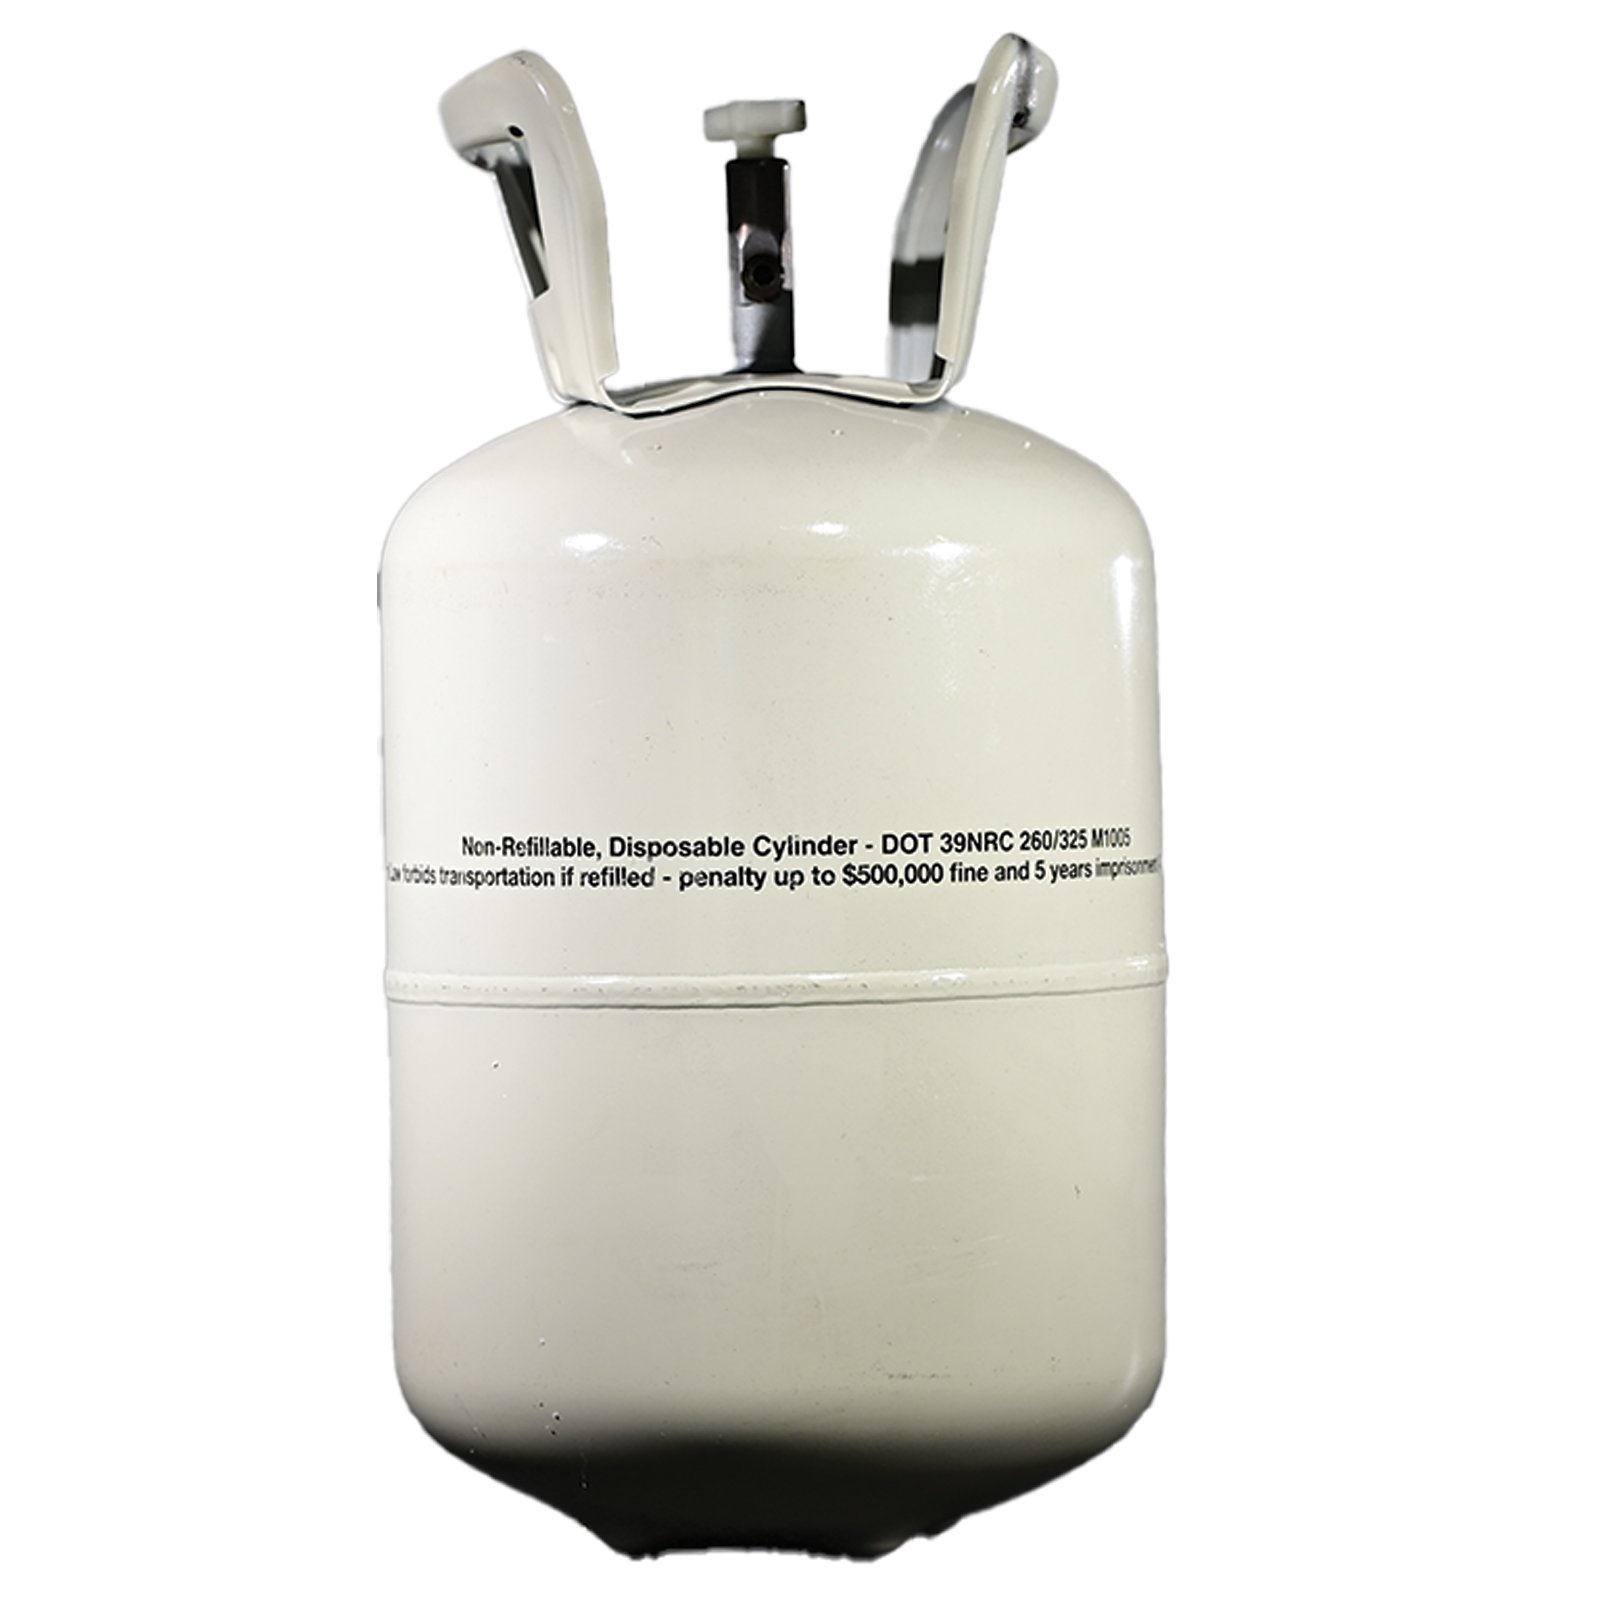
Project Manager Note: These are DOT-39 Non-Refillable cylinders. No deposits, no return trips to the wholesaler, and no tracking expensive rental tanks. Use it, recycle it, and move to the next job.
| KEY FEATURE / SPECIFICATION |
TRADE BENEFIT / RESULT |
Optimized Bulk Capacity
5 lb & 10 lb |
• 5 lb Cylinder: Cleans up to 25 Tons.
• 10 lb Cylinder: Cleans up to 50 Tons.
Asset Control: Delivers sufficient volume for VRF piping networks and large chillers while avoiding the financial liability of 20+ lb competitor tanks. Reduces risk of theft and waste. |
| 140+ PSI Delivery Pressure |
Mechanical Scrubbing Force: Delivers nearly 3x the pressure of generic brands. Maintains high velocity to blast through long vertical runs and restrictive line sets without losing pressure in cold weather environments. |
| High-Solvency Emulsification |
Rapid Contaminant Removal: Chemically dissolves and suspends stubborn carbon residues, tars, oils, and acids from compressor burnouts, preventing redeposition in the line. |
| Non-Flammable & A2L Ready |
Future-Proof Safety: Fully compatible with modern A2L (R-32, R-454B) conversions and R-410A retrofits. Non-toxic, non-flammable formula ensures job-site safety. |
| Zero-Residue Evaporation |
System Protection: Low-boiling point formula evaporates completely under standard vacuum, leaving no oily film or residue to contaminate the new refrigerant charge. |
| Material Compatibility |
Safe for Metals: Engineered to be safe on copper, aluminum, steel, and elastomers. Intended for line sets and coils only. Always bypass, remove, or isolate metering devices (TXV/piston), filter driers, and compressors prior to flushing. |
| Application Requirement |
Best Practice: For optimal results, always purge with clean, dry nitrogen after injection to push remaining solvent out, then evacuate the system prior to recharging. |
Part Number Reference:
Select the cylinder size based on your job volume. Don’t forget the reusable hose kit.
1. Select Your Cylinder
| PART # |
SIZE / PACK |
APPLICATION FIT |
| PRG-SC |
5 lb Cylinder
(Sold Individually) |
Light Commercial / Residential: Ideal for multi-unit residential jobs or light commercial split systems. |
| PRG-LC |
10 lb Cylinder
(Sold Individually) |
Industrial / VRF: Maximum capacity for large commercial applications, VRF piping networks, and chillers. |
| Accessories |
| PRG-HGK |
Hose & Gun Kit |
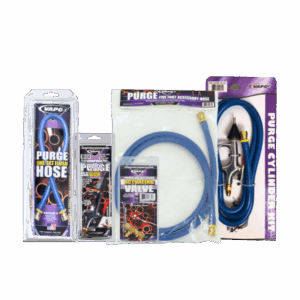
Cylinder Kit: Includes the 60″ Hose (PRG-H60) and Flush Gun (PRG-SPR) needed to dispense from cylinders. |
| PRG-H60 |
5 Foot Hose |
Replacement Hose: High-pressure reinforced hose for cylinder connection. |
| PRG-SPR |
Spray Gun |
Replacement Gun: Metal body flush gun with trigger control. |
2. Need Smaller Quantities?
Contractors: Please contact your local Vapco distributor for pricing and availability.
Directions for Purge Line Set Flush Cylinders (5 lb & 10 lb):
WARNING: For use by professional HVACR technicians only. Purge operates at 140+ PSI. Failure to follow these instructions may result in injury or equipment damage.
Safety & Hazard Warnings
- DANGER: Nitrogen Back-Pressure. Never connect the Purge cylinder directly to a Nitrogen line via a manifold.
- Ventilation: Use only in well-ventilated areas. If flushing indoors, open windows or use fans to exhaust fumes.
- PPE: Wear safety glasses and chemical-resistant gloves. Purge is a high-strength solvent that degreases skin instantly.
Phase 1: System Preparation
Before cracking the valve, ensure the system is isolated to prevent damage to sensitive components.
- Isolate & Protect:
- Disconnect Components: Isolate sections for targeted cleaning. Never inject solvent directly into a compressor.
- Remove Restrictions: Bypass or remove TXVs, pistons, and filter driers. Solvent can lodge debris in these small orifices.
- Establish Flow Path:
- Disconnect the line set from the indoor and outdoor units.
- Whenever possible, flush from the inside – out to the exterior.
- Place a waste container at the exit point to capture the solvent and sludge.
- High-Pressure Connections (Critical Step):
- Because Purge operates at 140+ PSI, ensure all connections are secure.
- Gently wrench-tighten the connection between the cylinder valve and hose, and the hose to the flush gun.
- Caution: Do not over-tighten, but ensure a leak-proof seal before opening the cylinder valve.
Phase 2: The Flushing Process
Leverage the bulk volume to scrub large lines.
- The “Pro Tip” Restriction:
- Crimp the Exit: Use pliers to slightly crimp or restrict the end of the copper discharge line.
- Why? This creates back-pressure, forcing the liquid solvent to fill the volume of large-diameter pipes completely.
- Inject Purge:
- Open the cylinder valve. Pull the trigger on the flush gun.
- Inject solvent in controlled bursts based on tubing diameter:
- Up to 1/2″ Tubing: 10–20 second burst per 50 ft.
- Up to 7/8″ Tubing: 30–40 second burst per 50 ft.
- The Nitrogen Chase (Mandatory):
- Do not rely on the cylinder pressure alone.
- Immediately after the solvent injection, disconnect the Purge cylinder and connect compressed Nitrogen.
- Blast Nitrogen through the line to drive the solvent plug and suspended debris out.
Phase 3: Verification & Completion
Ensure the line is chemically clean and dry.
- Inspect the Discharge:
- Check the waste container. If the solvent is dark/black, repeat the flush.
- Continue until the discharge runs clear and colorless.
- Evacuation:
- Pull a deep vacuum on the line set. Purge’s low boiling point ensures rapid boil-off under vacuum.
- Disposal:
- Dispose of the waste solvent in accordance with local regulations (waste oil container).
FAQs
Frequently Asked Questions: Purge Cylinders (5lb & 10lb)
Application & Performance
Q: How many tons can a single cylinder clean? A: Purge Cylinders provide massive volume for commercial applications, offering a significantly lower cost per pound than aerosols.
• 5 lb Cylinder (PRG-SC): Cleans up to 25 Tons.
• 10 lb Cylinder (PRG-LC): Cleans up to 50 Tons.
Note: Actual coverage depends on line set length, diameter, and the severity of the burnout. These high-capacity tanks are designed to handle multi-circuit VRF systems and large commercial runs without running empty mid-job.
Q: Why is the pressure so high (140+ PSI)? A: We pressurize Purge to 140+ PSI to ensure the solvent maintains velocity through long vertical runs and complex piping. Low-pressure flushes (typically ~55 PSI) often lose momentum in these scenarios, allowing sludge to settle. The high pressure ensures a true mechanical scouring action.
Q: Can I flush a compressor or TXV? A: NO. Purge is designed for line sets and coils only. You must bypass or remove compressors, filter driers, and metering devices (TXVs/Pistons) before flushing. Injecting solvent into these components can trap debris, damage seals, or strip vital lubricants.
Q: Is a nitrogen chase required? A: YES. You must always chase the solvent with compressed nitrogen immediately after injection. While Purge pushes the bulk of the debris out, the nitrogen acts as a “squeegee” to remove the final solvent film and any suspended particulates before you pull a vacuum.
Hardware & Connections
Q: Do I need a specific injection valve or actuator?
A: No. Unlike aerosol cans that require a separate actuator tool, Purge Cylinders feature a standard 1/4″ male flare service valve built directly into the tank. You connect your flush hose directly to the cylinder valve.
Q: Which hose/gun kit should I use?
A: We recommend the PRG-HGK (Hose & Gun Kit). It includes a reinforced 60″ hose (PRG-H60) and a metal Flush Gun (PRG-SPR) capable of handling the 140+ PSI pressure.
Q: Can I use my standard manifold hoses?
A: While the cylinder fits standard 1/4″ hoses, we highly recommend using a dedicated flush hose. Using your manifold hoses for flushing risks contaminating your gauges and recovery machine with the burnout acid and sludge you are trying to remove.
Q: Are these cylinders refillable?
A: No. These are DOT-39 non-refillable cylinders. Once empty, they should be disposed of according to local metal recycling regulations. This ensures you always get fresh, high-purity solvent and avoids the liability of tracking expensive returnable tanks.
Troubleshooting
Q: The solvent coming out of the line is still dark. What do I do?
A: If the discharge is dark or black, it indicates heavy carbon or oil contamination.
1. Repeat the Flush: Continue flushing until the solvent runs clear.
2. Advantage of Bulk: With a 5lb or 10lb cylinder, you have ample reserve solvent to repeat the process on heavily contaminated lines without needing to grab a new can.
Q: The cylinder pressure seems low.
A: Extreme low temperatures will naturally lower the pressure of any gas.
• Solution: If the cylinder has been sitting in a freezing truck, allow it to warm to room temperature (60°F – 70°F) before use to restore full 140+ PSI pressure. NEVER heat with a torch or open flame.
Safety & Compliance
Q: Is Purge flammable? A: No. Purge is classified as Non-Flammable. It is safe for use in mechanical rooms and on rooftops where torch work may occur nearby.
Q: Is this product safe for A2L Refrigerant Conversions? A: Yes. Purge is ideal for converting systems to A2L refrigerants (like R-32 or R-454B). Its high-solvency formula completely removes mineral oil and alkylbenzene residues that are incompatible with new A2L lubricants.
Q: Does Purge leave a residue? A: No. Purge has a low boiling point of 106°F (41°C). This allows it to evaporate rapidly and completely under a standard deep vacuum, leaving zero residue inside the pipe.
Logistics & Shelf Life
Q: Why choose cylinders over aerosols? A: Cylinders are the professional choice for commercial contractors. They offer a lower cost per pound, reduce waste (fewer cans to throw away), and provide the continuous volume needed for VRF systems and large-diameter piping.
Q: What is the shelf life? A: Purge cylinders have a shelf life of 5 years from the date of manufacture when stored properly in a cool, dry place out of direct sunlight. Manufacture warranty of 1 year.
Q: How do I dispose of the waste solvent? A: The used solvent captured in your bucket will contain hazardous system contaminants (acid, oil, sludge). Do not dump it down the drain. Dispose of it in a waste oil container in accordance with your local EPA regulations.
SDS
PURGE CYLINDER SDS – Download
SAFETY DATA SHEET
PURGE CYLINDER
1. Identification & Supplier Details
Product Identification (Section 1.1)
| GHS Product Identifier (Product Name) |
Purge Cylinder |
| Product Number / Brand |
PRG-SC, PRG-LC / Vapco |
| Recommended Use (1.3) |
A/C & Refrigeration System Flush |
Supplier Details & Emergency Contact (Section 1.4 & 1.5)
| Supplier Name |
Vapco Products, Inc. |
| Supplier Address |
401 Marshall Road
Valley Park, Missouri 63088, United States |
| Telephone / Fax / Email |
(636) 923-2121 / (636) 923-3002 / [email protected] |
| Emergency Phone Number |
(800) 255-3924 |
2. Hazard Identification & Composition
GHS Classification (Section 2.1)
| GHS Classification (OSHA) |
Acute toxicity, inhalation, Cat. 4; Eye damage/irritation, Cat. 2A; Specific target organ toxicity (single exposure), Cat. 3; Gases under pressure, liquefied gas; Simple asphyxiants. |
| Signal Word |
Warning |
| Hazard Statement(s) |
H280: Contains gas under pressure; may explode if heated.
H319: Causes serious eye irritation.
H332: Harmful if inhaled.
H336: May cause drowsiness or dizziness.
— May displace oxygen and cause rapid suffocation. |
| Pictograms |
|
| Other Hazards (2.3) |
Exposure may aggravate pre-existing eye, skin, or respiratory conditions. Contact with gas escaping the container can cause frostbite. |
Precautionary Statements (Section 2.2)
| Category |
Statement(s) |
| Prevention |
P261 (Avoid breathing vapors/spray), P264 (Wash hands thoroughly), P271 (Use only outdoors or in well-ventilated area), P280 (Wear eye/face protection). |
| Response (First Aid) |
P304+P340 (IF INHALED: Remove to fresh air).
P305+P351+P338 (IF IN EYES: Rinse cautiously for several minutes).
P312 (Call a POISON CENTER/doctor if you feel unwell).
P337+P313 (If eye irritation persists: Get medical advice/attention). |
| Storage / Disposal |
P403+P233, P405, P410+P403 (Store in a well-ventilated, secure place. Protect from sunlight).
P501 (Dispose of contents/container to regulations). |
Hazardous Components (Section 3.2)
| Chemical Name |
Concentration |
CAS No. |
Classification Note |
| Trans-1,2-dichloroethylene |
30 – 60 % (weight) |
156-60-5 |
Acute Tox. 4 (Inhal.) |
| 1,1,1,2-Tetrafluoroethane |
15 – 40 % (weight) |
811-97-2 |
Gas under pressure, Asphyxiant |
| Acid and Moisture Removing Additive |
10 – 30 % (weight) |
Trade Secret* |
N/D |
| Acetone |
1 – 10 % (weight) |
67-64-1 |
Eye Irrit. 2A, STOT SE 3 |
| Ethanol |
1 – 10 % (weight) |
64-17-5 |
Eye Irrit. 2A |
*TRADE SECRET – Specific chemical identities are withheld as trade secret under the provisions of OSHA hazard communication standard 29 CFR 1910.1200.
3. Physical & Chemical Properties
Basic Physical and Chemical Properties (Section 9)
| Physical State / Appearance |
Liquid / Pressurized spray |
| Color / Odor |
Colorless / Solvent odor |
| pH / Solubility |
N/A / Insoluble in water |
| Boiling Point or Boiling Range |
41°C (106°F) |
| Flammability / Flash Point |
Not considered flammable or extremely flammable / N/D |
| Vapor Pressure |
261 $text{mmHg}$ at 25°C (77°F) |
| Density and/or Relative Density |
1.17 at 25°C (77°F) |
| Relative Vapor Density / Evaporation Rate |
3.7 ($text{Air}=1$) / >3 (Fast) |
| Explosive / Oxidizing Properties |
May explode if heated (Gas under pressure) / Reacts violently with strong oxidizers |
4. Stability & Reactivity
Reactivity and Stability (Section 10)
| Reactivity |
Reacts violently with strong oxidizers. Increased risk of fire or explosion. |
| Chemical Stability |
Contains gas under pressure; may explode if heated. Pressurized container: may burst if heated. |
| Conditions to Avoid |
Direct sunlight, extremely high or low temperatures, heat, hot surfaces, sparks, open flames, incompatible materials, and other ignition sources. |
| Incompatible Materials |
Strong acids, strong bases, strong oxidizers, chlorine, finely divided metals, magnesium, alkaline earth metals. |
| Hazardous Decomposition Products |
Thermal decomposition may produce: $text{carbon oxide(s)}$, chlorine compounds, hydrogen chloride, fluorine compounds, hydrogen fluoride, carbonyl fluoride, and fluorocarbons. |
5. Toxicological Information
Information on Acute Toxicity (Section 11)
| Component |
Test / Route |
Dose / Result (Species) |
| Trans-1,2-dichloroethylene |
$text{LC}_{50}$ Inhalation (4 hrs) |
96 $text{mg}/text{l}$ (Rat) |
| 1,1,1,2-Tetrafluoroethane |
$text{LC}_{50}$ Inhalation (4 hrs) |
1500 $text{g}/text{m}^{3}$ (Rat) |
| Acetone |
$text{LC}_{50}$ Inhalation (8 hrs) |
50.1 $text{mg}/text{l}$ (Rat) |
| Acetone / Ethanol |
$text{LD}_{50}$ Dermal (Rabbit) |
Acetone: 20000 $text{mg}/text{kg}$
Ethanol: 2000 $text{mg}/text{kg}$ |
Other Toxicological Effects (Section 11)
| Skin/Eye Irritation |
Causes irritation, redness, burning, and tearing. Contact with liquid/gas can cause frostbite/freeze burns. |
| STOT – Single Exposure |
May cause drowsiness or dizziness. High concentrations may cause CNS depression, asphyxiation, and unconsciousness. Associated with cardiac sensitization. |
| Carcinogenicity/Mutagenicity/Reproductive Toxicity |
Not classified. |
| Aspiration Hazard ($text{ATE}$) |
The $text{ATE}$ (gas inhalation) of the mixture is: 7500 $text{ppmV}$. |
6. First-Aid Measures
Description of Necessary First-Aid Measures (Section 4.1)
| General Advice |
Never give anything by mouth to an unconscious person. If you feel unwell, seek medical advice (show the label where possible). |
| If Inhaled |
Remove person to fresh air. Keep comfortable for breathing. Get medical advice/attention. |
| In Case of Skin Contact |
Immediately drench affected area with water for at least 15 minutes. Remove contaminated clothing immediately. Obtain medical attention if irritation develops or persists. For freeze burns/frostbite, seek medical attention immediately. |
| In Case of Eye Contact |
Immediately rinse with water for at least 15 minutes. Remove contact lenses, if present and easy to do. Continue rinsing. Obtain medical attention if irritation develops or persists. For freeze burns/frostbite, seek medical attention immediately. |
| If Swallowed |
Rinse mouth. Do NOT induce vomiting. Obtain medical attention. (Not considered a potential route of exposure). |
Immediate Medical Attention (Section 4.3): If exposed or concerned, get medical advice and attention. If medical advice is needed, have product container or label at hand. Note: The product contains light hydrocarbon and chlorinated material, which is associated with cardiac sensitization. Careful consideration should be applied preceding administration of epinephrine or similar heart-stimulating substances.
7. Fire-Fighting & Accidental Release Measures
Fire-Fighting Measures (Section 5)
| Suitable Extinguishing Media |
Carbon dioxide ($text{CO}_2$), alcohol-resistant foam, dry chemical, or sand. |
| Specific Hazards |
Explosion Hazard: Container may explode in heat of fire. Vapors are heavier than air and may travel to an ignition source and flash back. Reacts violently with strong oxidizers. |
| Firefighting Instructions / Protection |
Do NOT fight fire when fire reaches containers. Fight fire remotely. Use water spray or fog for cooling exposed containers. Wear $text{NIOSH}$-approved Self-Contained Breathing Apparatus ($text{SCBA}$). |
Accidental Release Measures (Section 6)
| Personal Precautions/PPE |
Do not breathe vapors, spray, mist, gas. Keep away from all ignition sources (No smoking). Use appropriate $text{PPE}$. |
| Environmental Precautions |
Prevent entry to sewers and public waters. Avoid release to the environment. |
| Containment & Clean Up Methods |
Eliminate all ignition sources. Ventilate the area. Isolate the area until gas has dispersed. Take up liquid spill into absorbent material. Dispose of waste safely. |
8. Handling, Storage & PPE
Precautions for Safe Handling (Section 7.1)
| Precautions for Safe Handling |
Do not handle until all safety precautions have been read and understood. Avoid contact with skin, eyes and clothing. Do not spray on open flame or other ignition source. |
| Additional Hazards |
Do not pressurize, cut, or weld containers. Ruptured cylinders may rocket. Do not pierce or burn, even after use. |
Conditions for Safe Storage (Section 7.2)
| Storage Conditions |
Store in a dry, cool, well-ventilated place. Store locked up. Protect from sunlight. Keep away from ignition sources. Storage Temperature: < 50°C/122°F. |
| Incompatible Materials |
Strong acids, strong bases, strong oxidizers, chlorine, finely divided metals, magnesium, alkaline earth metals. |
Exposure Controls and PPE (Section 8)
| Exposure Limit (Select Components) |
Value / Source |
| Acetone TWA (Inhalation) |
500-1000 $text{ppm}$ |
AU, US ($text{OSHA}$, $text{Cal}/text{OSHA}$, $text{NIOSH}$) |
| 1,1,1,2-Tetrafluoroethane TWA |
1000 $text{ppm}$ |
AU ($text{AU}/text{SWA}$) |
| Eye/Face Protection |
Chemical safety goggles. Emergency eye wash fountains/safety showers must be available. |
| Skin/Body Protection |
Wear protective gloves and clothing. Chemical resistant materials and fabrics. Wear fire/flame resistant/retardant clothing. |
| Respiratory Protection |
Use a $text{NIOSH}$-approved $text{SCBA}$ whenever exposure may exceed established Occupational Exposure Limits ($text{OELs}$). |
9. Transport & Regulatory Information
Transport Information (Section 14)
| Regulation |
UN Number |
Class |
Packing Group |
Proper Shipping Name |
| DOT (US) / IMDG / IATA |
UN1950 |
2.2 (Non-Flammable Gas) |
N/A |
Aerosols, non-flammable, (each not exceeding 1 L capacity) |
Regulatory Information (Section 15)
| Components Listed on Right-To-Know Lists |
Trans-1,2-dichloroethylene ($text{CAS}: 156-60-5$), Acetone ($text{CAS}: 67-64-1$), and Ethanol ($text{CAS}: 64-17-5$) are listed on various $text{RTK}$ lists (MA, NJ, PA, $text{TURA}$). |
| US EPA TSCA Public Inventory |
Trans-1,2-dichloroethylene, 1,1,1,2-Tetrafluoroethane, Acetone, and Ethanol are listed. |
| US EPA PFAS Lists |
1,1,1,2-Tetrafluoroethane ($text{CAS}: 811-97-2$) is listed on the $text{PFAS}$ master list and $text{PFAS}$ structured chemicals list. |
10. Disposal & Ecological Information
Ecological Information (Section 12)
| Endpoint (Select Components) |
Species |
Value / Result |
| Toxicity ($text{EC}_{50}$) |
Daphnia magna (water flea) |
Trans-1,2-dichloroethylene: 220 $text{mg}/text{l}$ |
| Toxicity ($text{LC}_{50}$) |
Oncorhynchus mykiss (Rainbow Trout) |
Acetone: 4740-6330 $text{mg}/text{l}$ – 96 $text{hrs}$ |
| Persistence and Degradability |
Component or components of this product are not biodegradable. May cause long-term adverse effects in environment. |
| Bioaccumulative Potential / Mobility in Soil |
Not established / No information available. |
Disposal Methods (Section 13)
| Product Disposal |
Dispose of contents/container in accordance with local, regional, national, and international regulations. Do not pierce or burn, even after use. |
| Sewage Disposal |
Avoid release into the environment. This material is hazardous to the aquatic environment. Keep out of sewers and waterways. |
11. Disclaimer & Preparation Information
Preparation Information (Section 16.2)
| Prepared by |
Jessica Wilson |
| Date Prepared |
2/13/2025 |
Disclaimer (Section 16.1):
To the best of our knowledge, information contained herein is accurate. However there is no assumption of liability for the accuracy or completeness of the information contained herein. Final determination of suitability of any material is the sole responsibility of the user. The information contained in this $text{SDS}$ was obtained from current and reliable sources; however, the data is provided without warranty, expressed or implied, regarding its correctness or accuracy. Since the conditions of handling, storage and disposal of this product are beyond the control of the manufacturer, the manufacturer will not be responsible for loss, injury, or expense arising out of the products improper use. The user is responsible for full compliance with various government agency regulations.
Key: $text{N}/text{A}$ = Not applicable; $text{N}/text{D}$ = Not determined
Technical Data
Field Guide: Purge Cylinder Specifications
This guide details the hardware specifications and chemical performance for Vapco Purge Flush Cylinders (5lb & 10lb).
1. Cylinder Hardware Specifications
| COMPONENT |
SPECIFICATION / MATERIAL |
BENEFIT |
| Service Valve |
Built-In 1/4″ Male Flare |
No Actuator Tool Required: Connects directly to standard refrigeration hoses or dedicated flush hoses. |
| Pressure Rating |
140+ PSI Operational |
Pressurized to maintain high velocity for vertical runs and heavy sludge removal in commercial lines. |
| Cylinder Type |
DOT-39 Non-Refillable |
Disposable steel cylinder eliminates the liability of tracking/returning expensive rental tanks. |
| Internal Dip Tube |
Full Length |
Ensures complete liquid withdrawal without needing to invert the tank. |
2. Yield & Capacity by Cylinder Model
| PART # |
SIZE / APPLICATION |
CLEANING CAPACITY* |
| PRG-SC (5 lb) |
Light Commercial / Multi-Family |
Up to 25 Tons |
| PRG-LC (10 lb) |
Industrial / VRF / Chiller |
Up to 50 Tons |
3. Contaminant Removal Matrix
| TARGET |
SOURCE |
ACTION |
WHY IT WORKS |
| Carbon / Sludge |
Compressor Burnout |
Emulsifies |
High solvency breaks down hardened deposits; 140+ PSI scours the pipe wall. |
| Mineral Oil |
R-22 Retrofits |
Displaces |
Fully miscible with mineral oils, lifting them for a clean R-410A/A2L conversion. |
| Moisture |
System Leaks |
Evaporates |
Low boiling point (106°F) ensures rapid boil-off under vacuum. |
4. Chemical Properties & Compatibility
| PROPERTY / MATERIAL |
SPECIFICATION / STATUS |
| Flammability |
Non-Flammable (Safe for A2L environments) |
| Boiling Point |
106°F (41°C) (Leaves zero residue) |
| Safe Materials |
Copper, Aluminum, Steel, Viton, Neoprene. |
| Restricted Materials |
ABS, Acrylics. Avoid contact with plastics. |
| System Components |
DO NOT FLUSH. Bypass filter driers, TXVs, and compressors. |
*Always consult the Safety Data Sheet (SDS) before use. Cleaning capacity estimates are based on standard line set configurations; results may vary based on line length, diameter, and severity of burnout/contamination.

