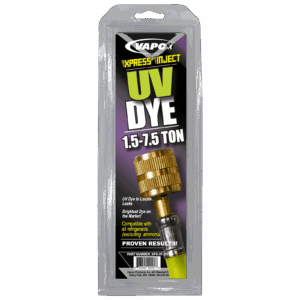
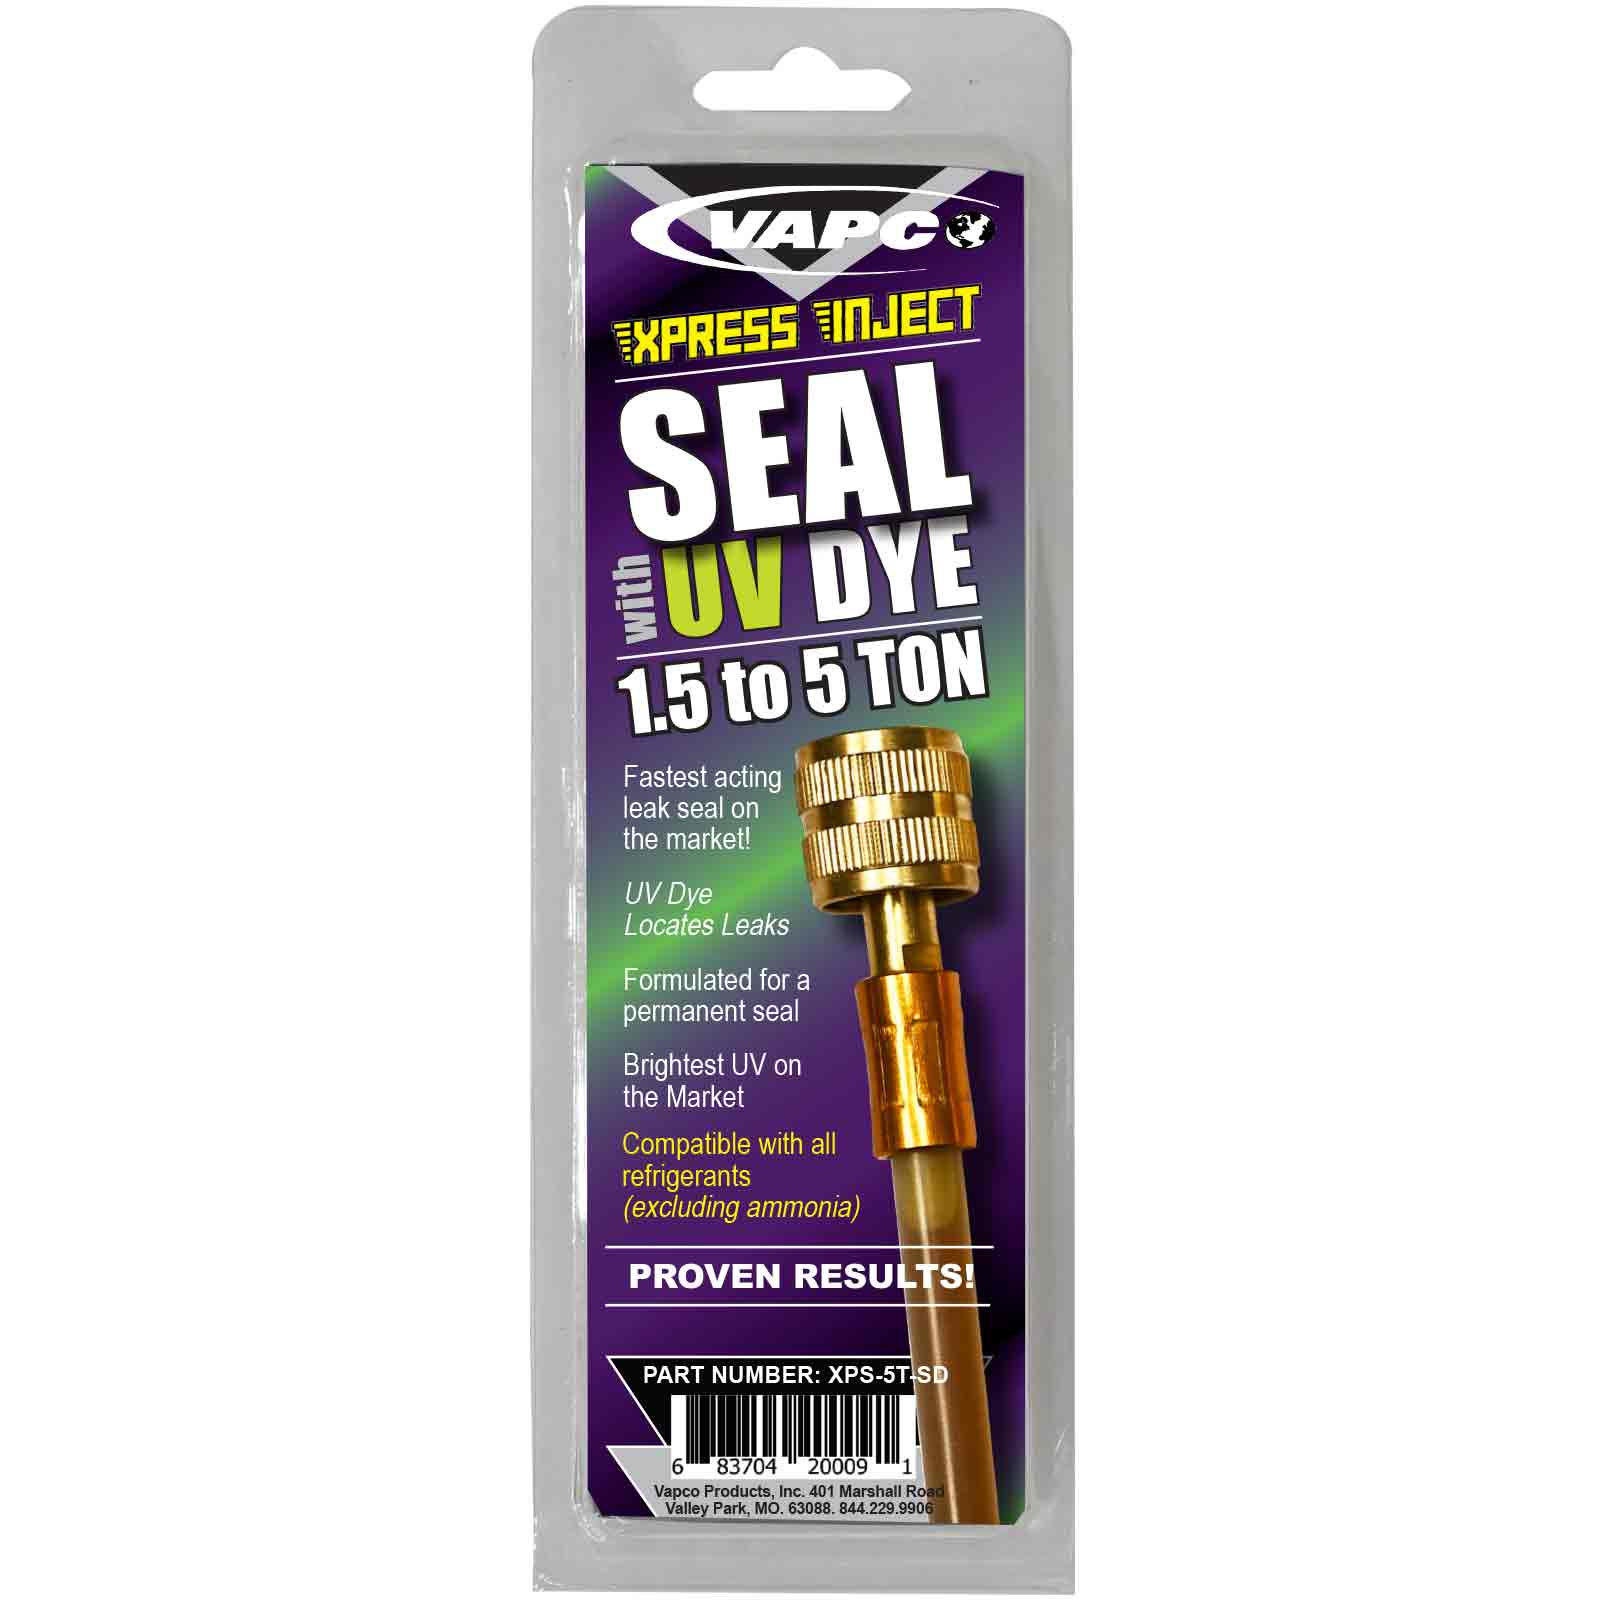
SEAL WITH UV DYE
Fast-Acting HVACR Leak Sealant + Brightest UV Dye
SEAL WITH UV DYE is built for professional HVACR service. Seal with UV Dye delivers dual-action performance: it seals leaks that are within sealant range and illuminates the rest. The polymer-free formula stays non-reactive inside the system and will not clog TXV valves, capillary tubes, metering devices, or compressor components. It only activates at the leak site when exposed to ambient air and moisture outside the system—forming a durable micro-seal. The integrated, high-intensity fluorescent dye circulates system-wide to help you pinpoint leak locations with a UV light, verify repairs, and document findings. Compatible with all refrigerants and oils (excluding ammonia), and available in Xpress Inject sizes matched to system tonnage for fast, no-mess injection.
Key Features and Benefits:
- Dual-action solution: fast-acting sealant + brightest UV dye for exact leak pinpointing
- Travels with refrigerant, not oil: Ensures full‑circuit coverage, avoids oil‑borne deposits, and protects metering devices and compressors.
- Atomizes on injection; fully compressible: Preserves compressor performance and system efficiency.
- Reacts only at real leak sites: Non-reactive inside the system; activates with pressure change, moisture, and air to seal quickly and durably. Polymer-Free technology.
- Fast, durable sealing: Targets microleaks to reduce refrigerant loss, improve reliability, and minimize repeat service calls.
- Broadest size range in the industry: From mini appliance systems to 60‑ton commercial and industrial units.
- Wide refrigerant compatibility: Works with all refrigerants used in HVACR except ammonia systems. A2L compatible.
- Pro‑grade convenience: Designed for efficient field installation and rapid return-to-service.
- Not for use in Ammonia (NH3) systems
Part Number
- XPS-MINI-SD Appliances – 6/cs
- XPS-SS-SD Up to 1.5 Ton – 6/cs
- XPS-5T-SD 1.5-5 Ton – 6/cs
- XPS-7.5T-SD 5-7.5Ton – 6/cs
- XPS 10T-SD 2-10 Ton – 4/cs
- XPS-15T-SD 6-15 Ton – 4/cs
- XPS-30T-SD 16-30 Ton – 4/cs
- XPS-60T-SD 31-60 Ton – 4/cs
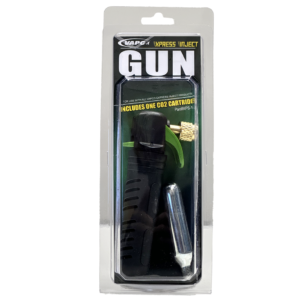
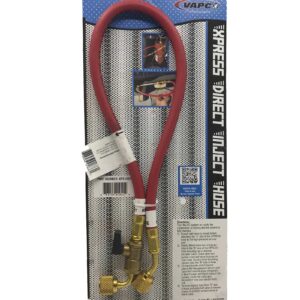
- ACCESSORIES – (NOT REQUIRED)
- XPS-HOSE 1ea
- XPS-INJ 1ea
- CO2-5 5/cs
Directions:
This product must be used in accordance with the following directions and by professionals only.
Always read the product label and Safety Data Sheet (SDS) for complete precautionary and first aid information before use.
XPRESS SEAL is designed for quick and effective leak sealing in HVACR systems. Choose the method below that best suits your equipment and job site conditions.
General Safety & Pre-Installation Checks (Applicable to All Methods)
Before beginning, ensure the system is ready and you have the correct XPRESS SEAL product for the system’s tonnage.
- Safety First: Always wear appropriate personal protective equipment (PPE), including safety glasses and protective gloves, when working with refrigerants and sealants.
- Identify Ports: Clearly identify the low-side (suction) and high-side (liquid) service ports on the system.
- System Running & Mode:
- Ensure the HVACR system is powered on and running, with the compressor engaged.
- If working on a heat pump, set the system to Cooling Mode for optimal sealant distribution.
- System Charge: Verify the system has an adequate refrigerant charge. XPRESS SEAL can be injected into a fully charged or partially low system; if significantly low, you may use refrigerant to push the sealant (see Traditional Method alternative).
- Refrigerant Compatibility: Confirm the system is NOT an ammonia (NH3) system, as XPRESS SEAL is not compatible.
- XPRESS SEAL Size: Ensure you have selected the appropriate XPRESS SEAL cartridge size for the system’s tonnage (e.g., XPS-Mini, XPS-5T, XPS-60T).
- Inspect XPRESS SEAL Tube: Do not bend, cut, or deform the XPRESS SEAL tube.
Traditional Manifold-Assisted High-Side System Pressure Injection (into Low-Side)
This method uses your manifold gauge set and the system’s own high-side pressure to push XPRESS SEAL into the low-pressure side of the system.
- Prepare System & Ports:
- Ensure system is running (compressor engaged), and in cooling mode if a heat pump.
- Identify both the low-side (suction) and high-side (liquid) service ports.
- Optional Valve Core Adjustment: If your XPRESS Inject features an adjustable valve core depressor and the system’s valve core is too deep, turn the depressor on your Xpress Inject counterclockwise up to 1 turn to properly engage the system’s valve core during connection.
- Connect XPRESS Inject: LOOSELY Connect the XPRESS Inject tube (containing the sealant) to the low-side service port. Will complete connection after purge of manifold hoses.
- Prepare Manifold:
- Ensure both the high-side (red) and low-side (blue) valves on your manifold gauge set are COMPLETELY CLOSED.
- Attach your high-pressure (red) manifold hose to the system’s high-side (liquid) service port.
- Attach your low-pressure (blue) manifold hose to the XPRESS Inject tube connected at the low-side service port.
- Purge Manifold Hose:
- Quickly crack open and close the high-side (red) manifold valve to allow a small amount of high-pressure refrigerant to purge air out of the low-side (blue) hose.
- Then, close the high-side (red) manifold valve.
- Securely tighten the Xpress Inject onto the low side service port.
- Inject XPRESS SEAL:
- Slowly open the high-side (red) valve on your manifold.
- Then, slowly open the low-side (blue) manifold valve. High-pressure refrigerant from the system’s high-side will flow through your manifold and push the XPRESS SEAL from the tube into the system’s low side.
- Watch the XPRESS Inject tube: the system’s suction pressure will draw the sealant into the system. Continue until the tube is clear of sealant.
- Close & Disconnect
- Once the XPRESS Inject tube is empty and clear, close the low-side (blue) manifold valve.
- Close the high-side (red) manifold valve.
- Disconnect your manifold hose from the XPRESS Inject.
- Disconnect the XPRESS Inject from the service port. Discard or recycle the empty XPRESS Inject tube responsibly.
- Finalize: Install the service port cap securely.
- Let system run for at least 1 hour to ensure distribution of sealant throughout the system.
Alternate Injection Method: Refrigerant Tank Assisted (Low-Side)
As an alternative to using the system’s high-side pressure, you can use a refrigerant tank to assist injection.
If using this method, ensure your manifold’s low-side hose is connected to the XPRESS Inject, and the center yellow hose is connected to a refrigerant supply tank. Purge the yellow hose. Open the refrigerant tank, then slowly open the low-side (blue) manifold valve. The refrigerant pressure from the tank, combined with system suction, will push the sealant in. Close the low-side valve, then the tank, and disconnect as above.
Post-Injection Best Practices (Applicable to All Methods)
After injecting XPRESS SEAL, it’s crucial to allow the product to fully circulate and activate:
- Run Time: Run the AC unit for a minimum of one (1) hour immediately after injecting XPRESS SEAL. This ensures thorough circulation of the sealant throughout the system. For larger systems or very cold conditions, allow for even longer run times (e.g., 2-4 hours).
- System Monitoring: Monitor the system’s operating pressures and temperatures. XPRESS SEAL is designed not to alter system performance or clog metering devices.
- Leak Verification: After the recommended run time, verify leak resolution using standard diagnostic methods.
- Documentation: Document the application of XPRESS SEAL in the system’s service log, including date, product size, and method used.
Important Notes for Professionals
- Refrigerant Charging Concurrent with Sealant: If the system is low on refrigerant, XPRESS SEAL can be injected concurrently with refrigerant charging. Simply connect the XPRESS Inject to the service port and push the sealant into the system using the refrigerant being added, following the appropriate method.
- No Pump Down Required: XPRESS SEAL does not require pumping down the system for injection, regardless of refrigerant type.
- Polymer-Free Formulation: XPRESS SEAL is formulated to be “polymer free” while in the tube and circulating through the system, protecting sensitive system components.